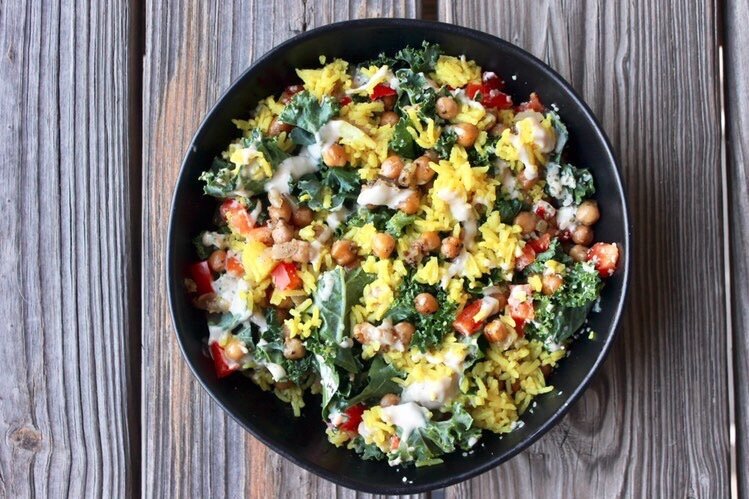
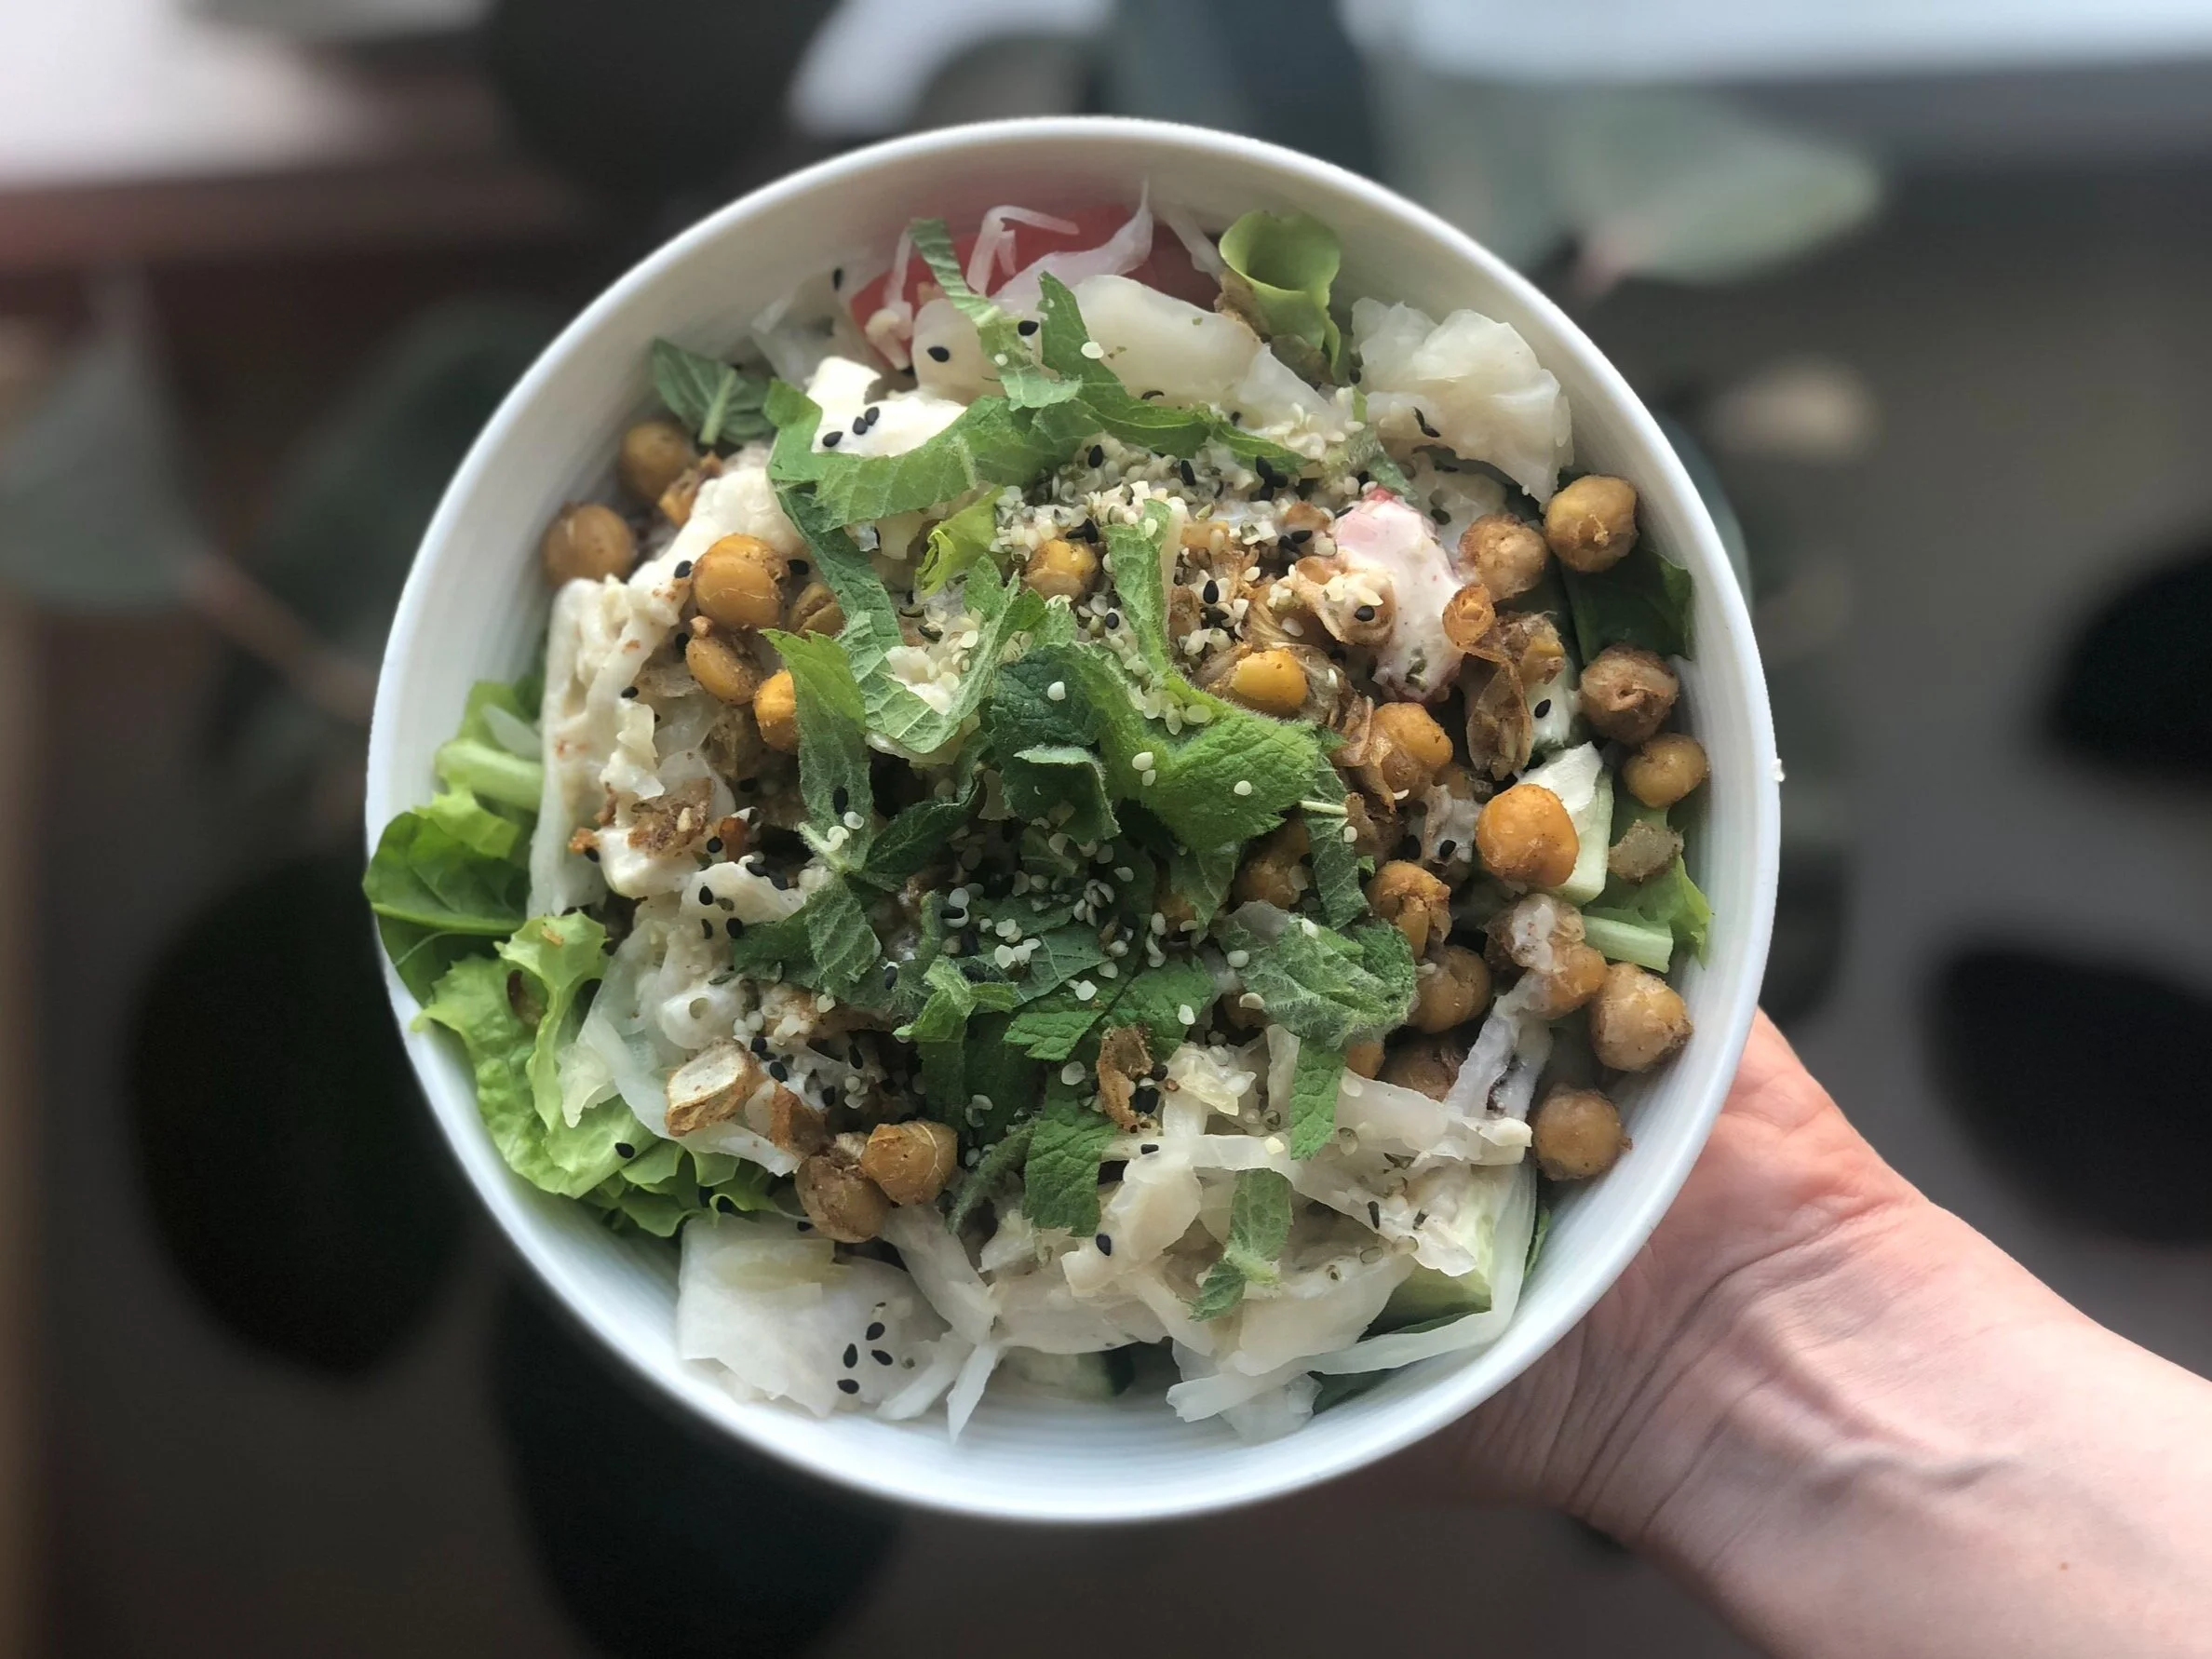
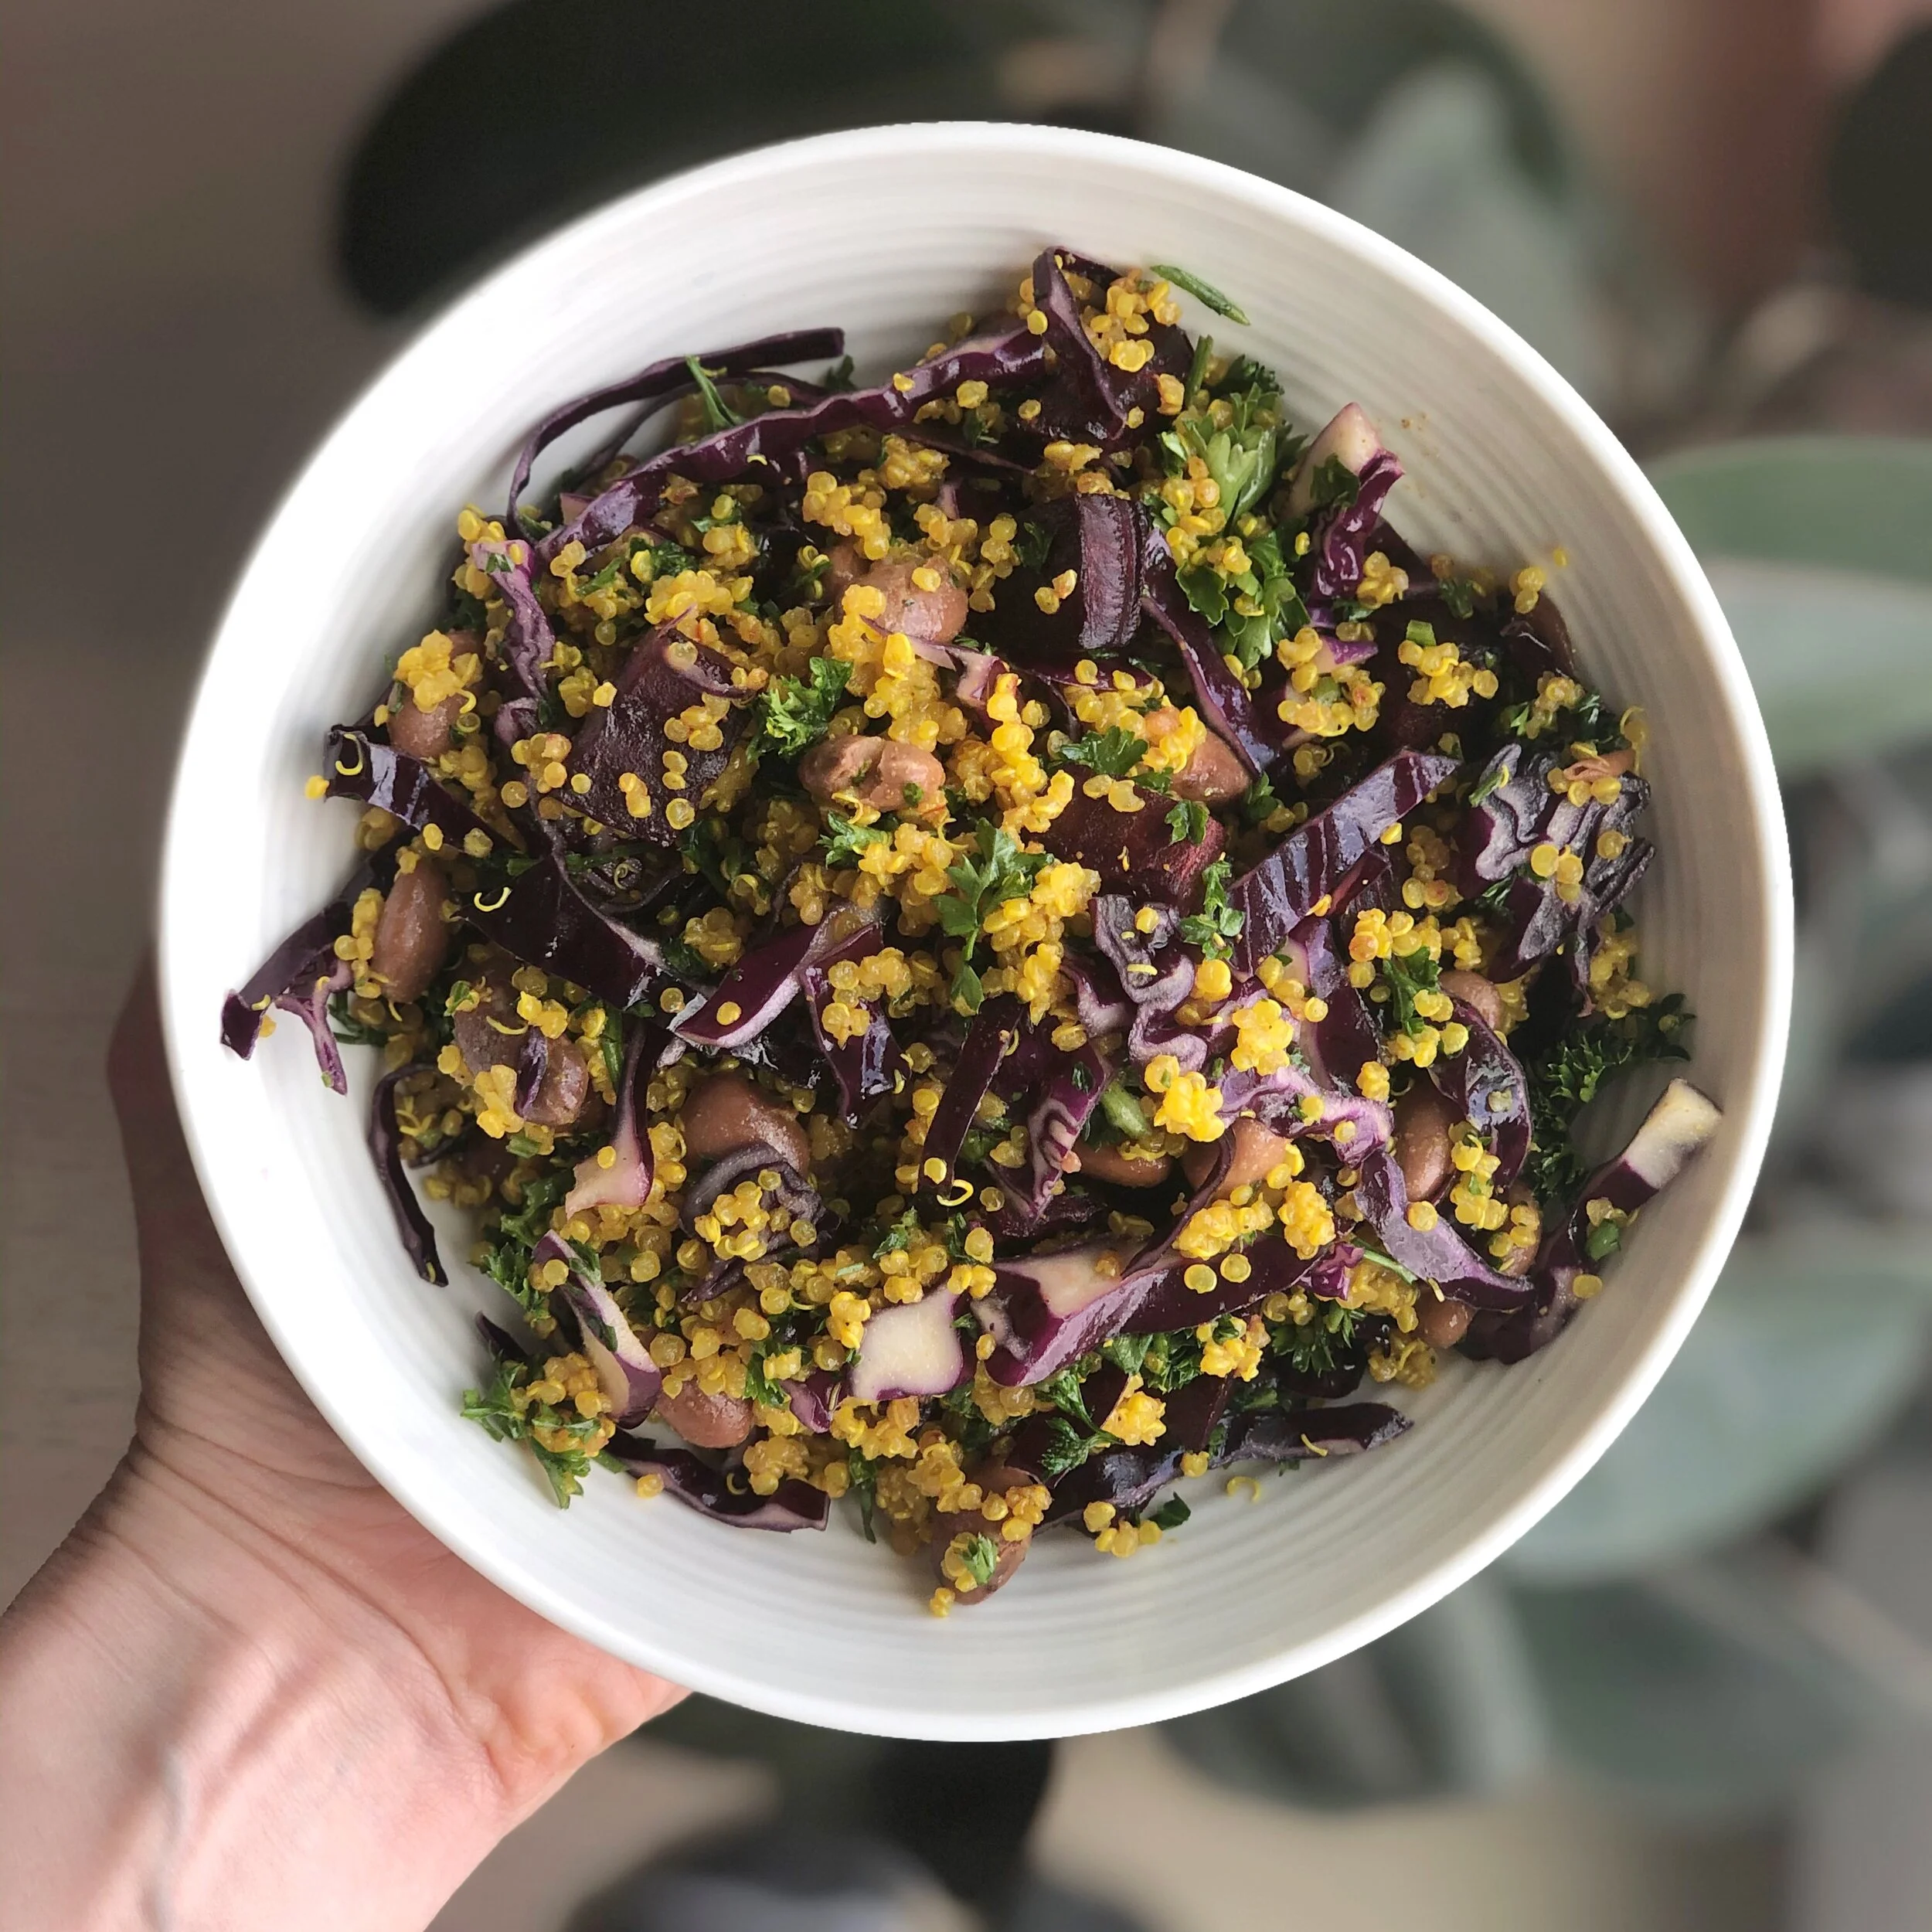
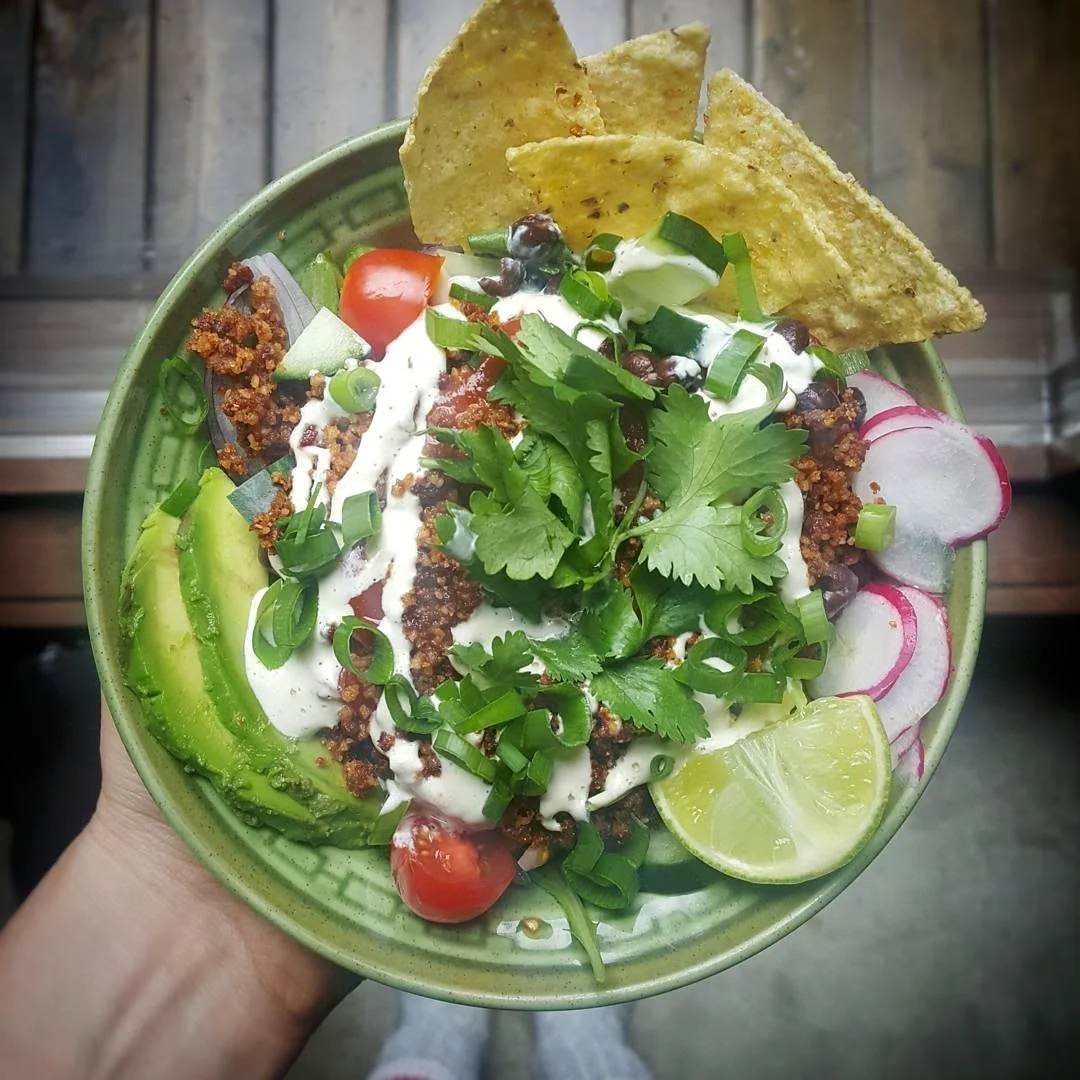
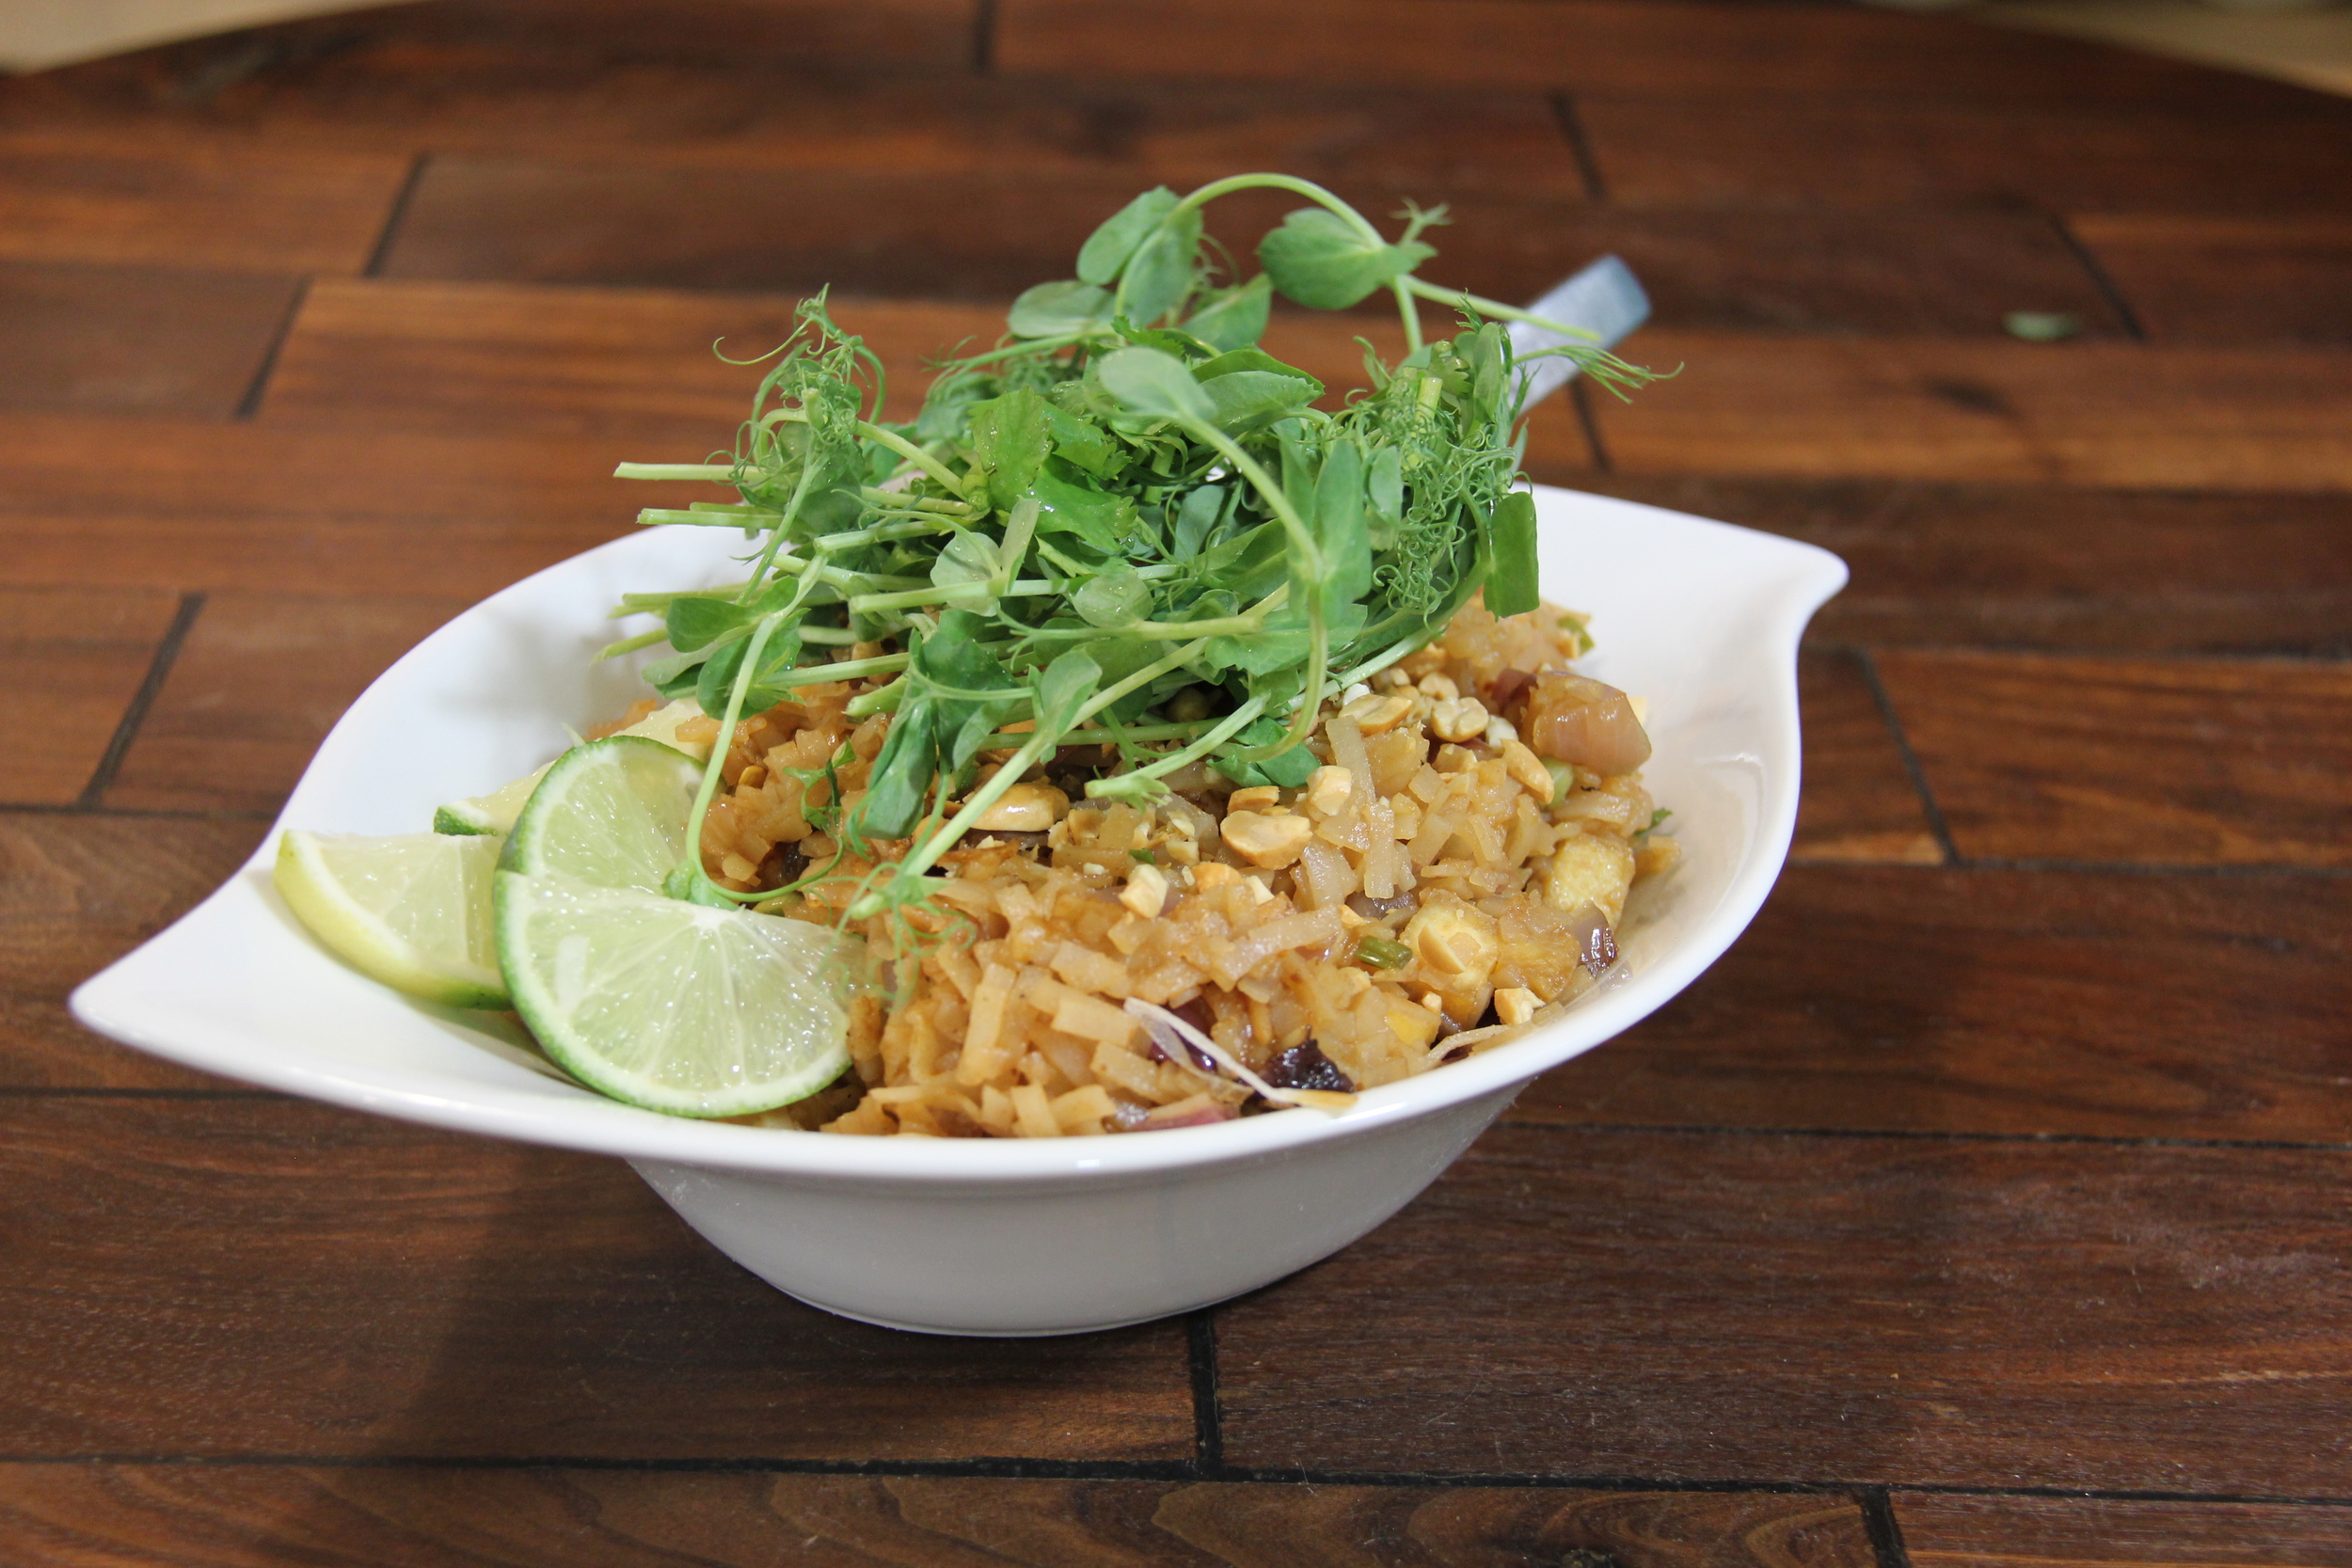
Vermicelli Noodle Bowls
If you’ve been a regular follower of my Instagram stories over the past few years you might’ve see that Dr. Kwadwo Kyeremanteng (aka @kwadcast), an ICU doctor at the Ottawa Hospital, invited me to be on his podcast Solving Healthcare back in 2020 to speak about the benefits of plant-based diets. While we have different views on food and nutrition, we had a wonderful discussion. You can listen to the podcast here.
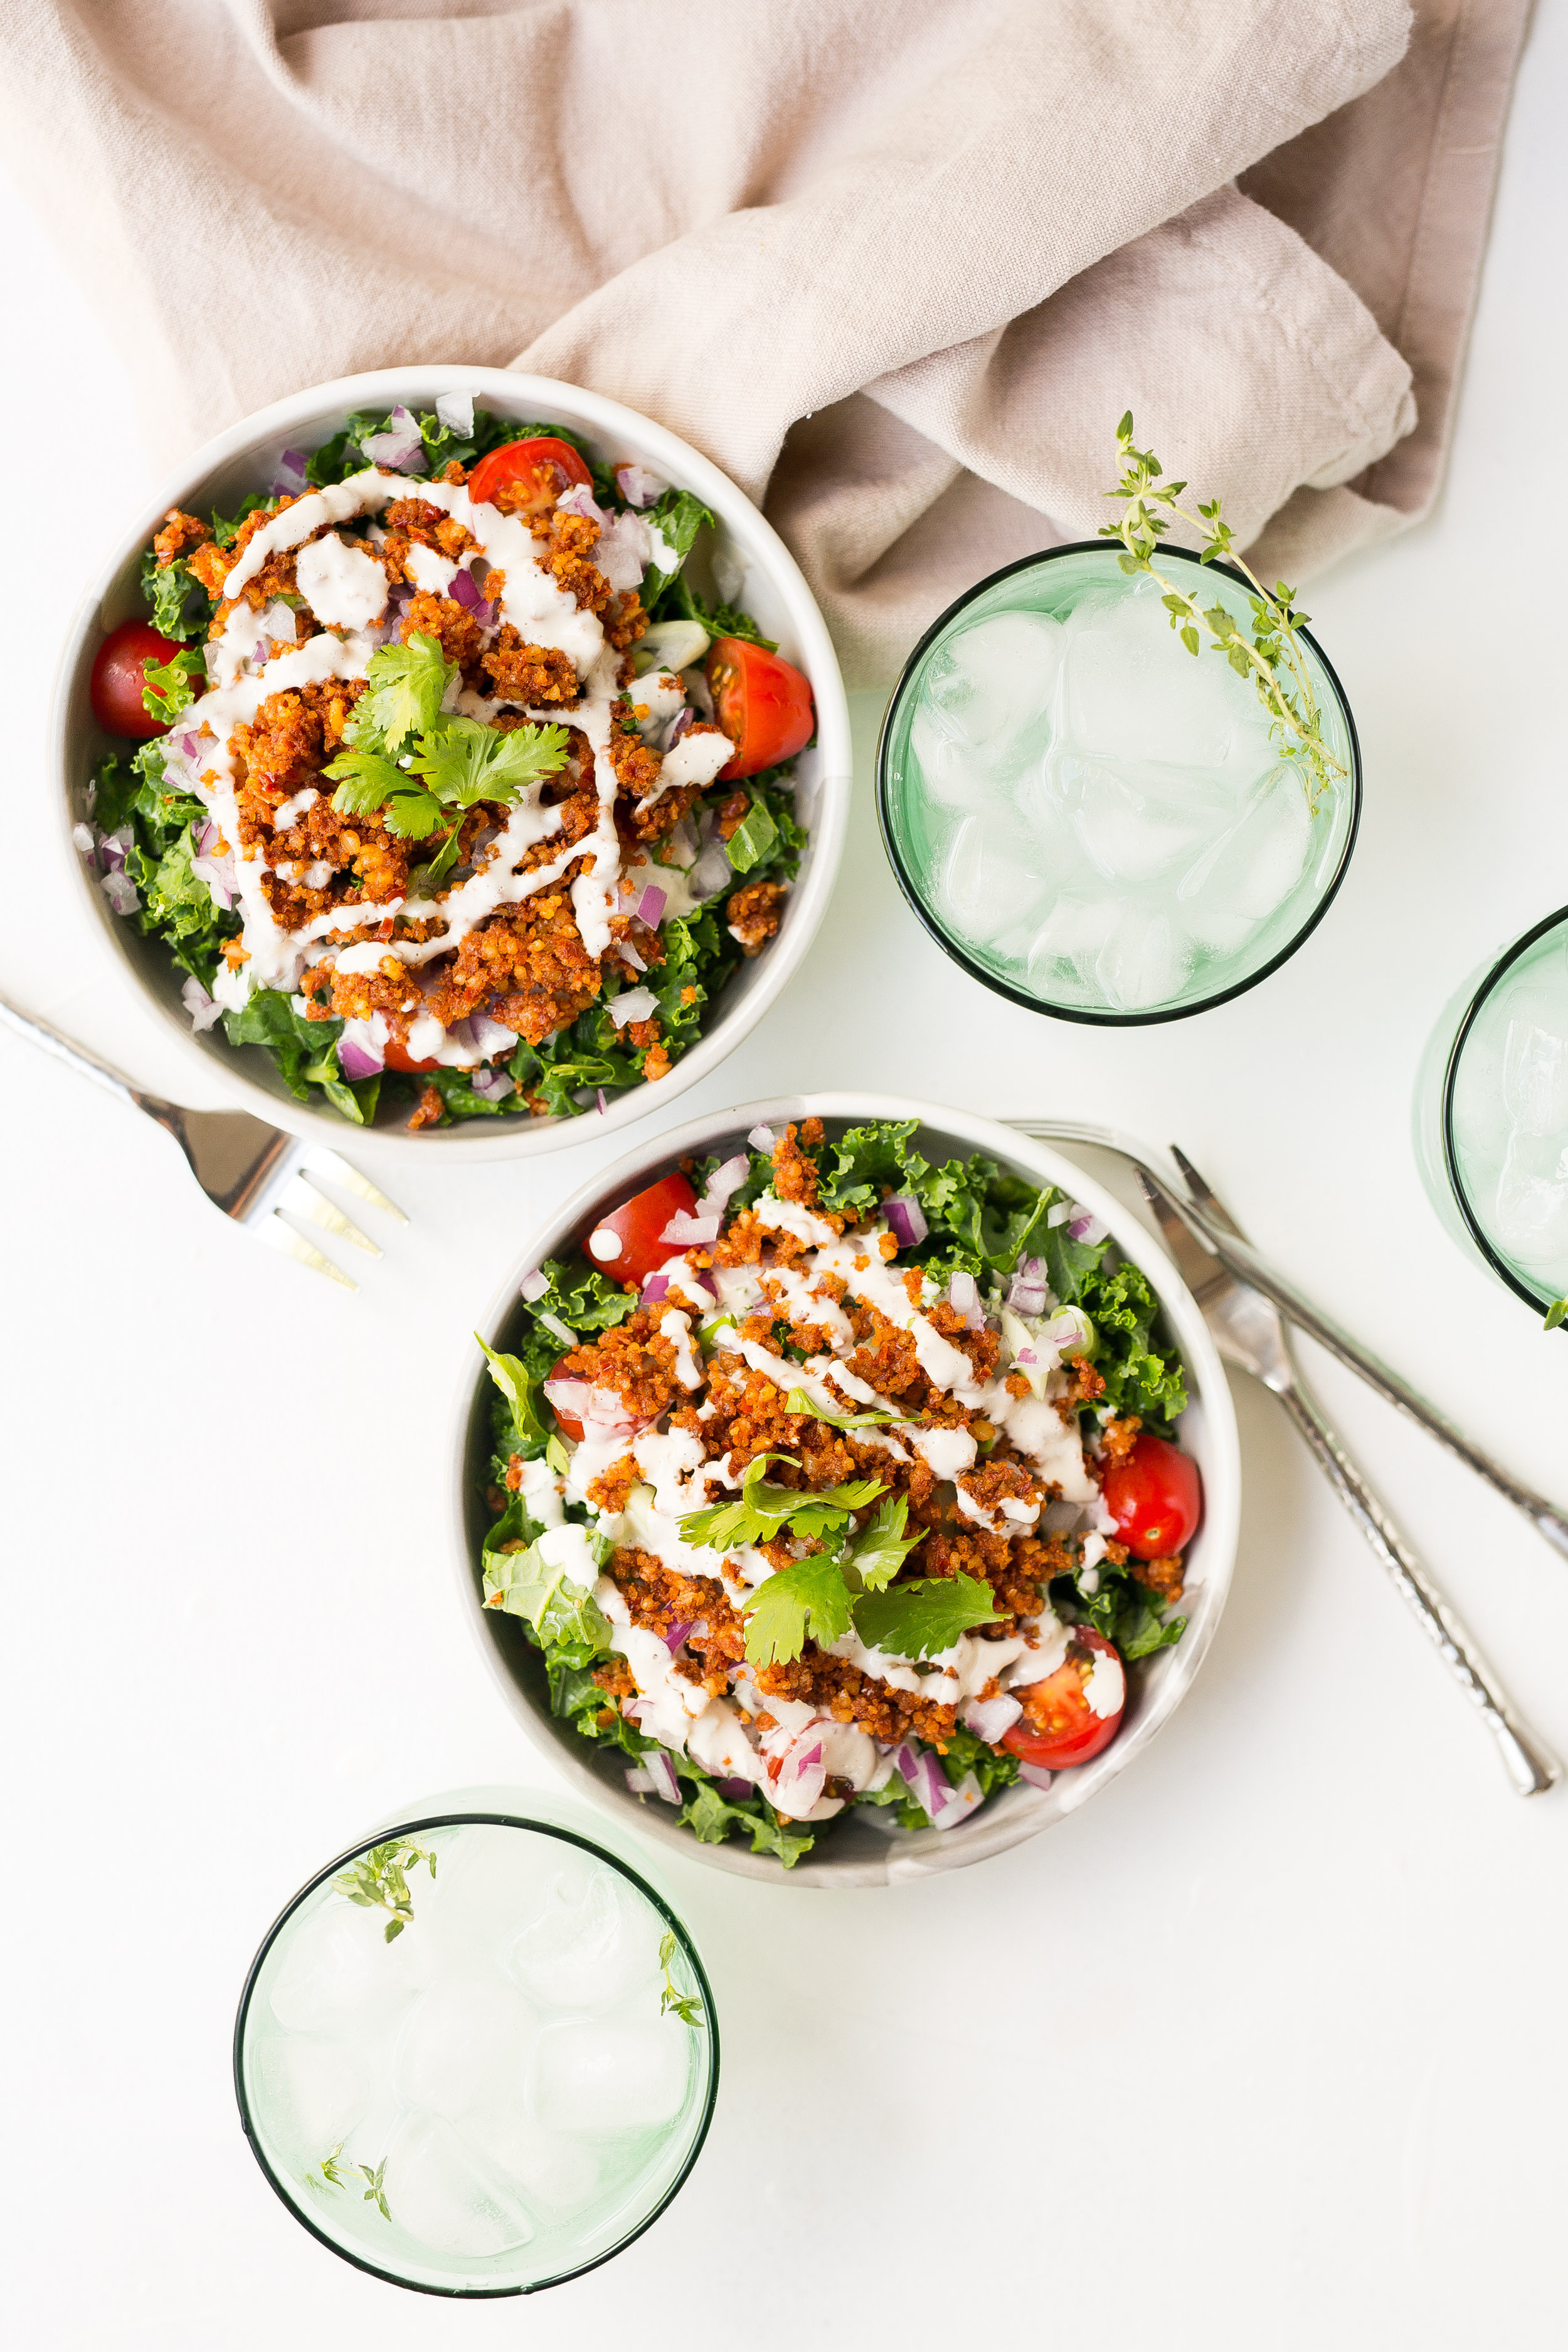
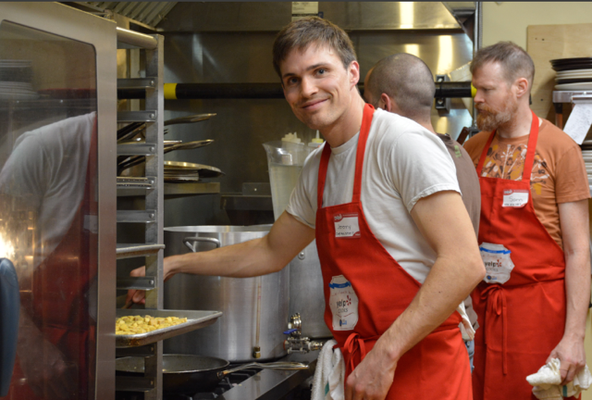
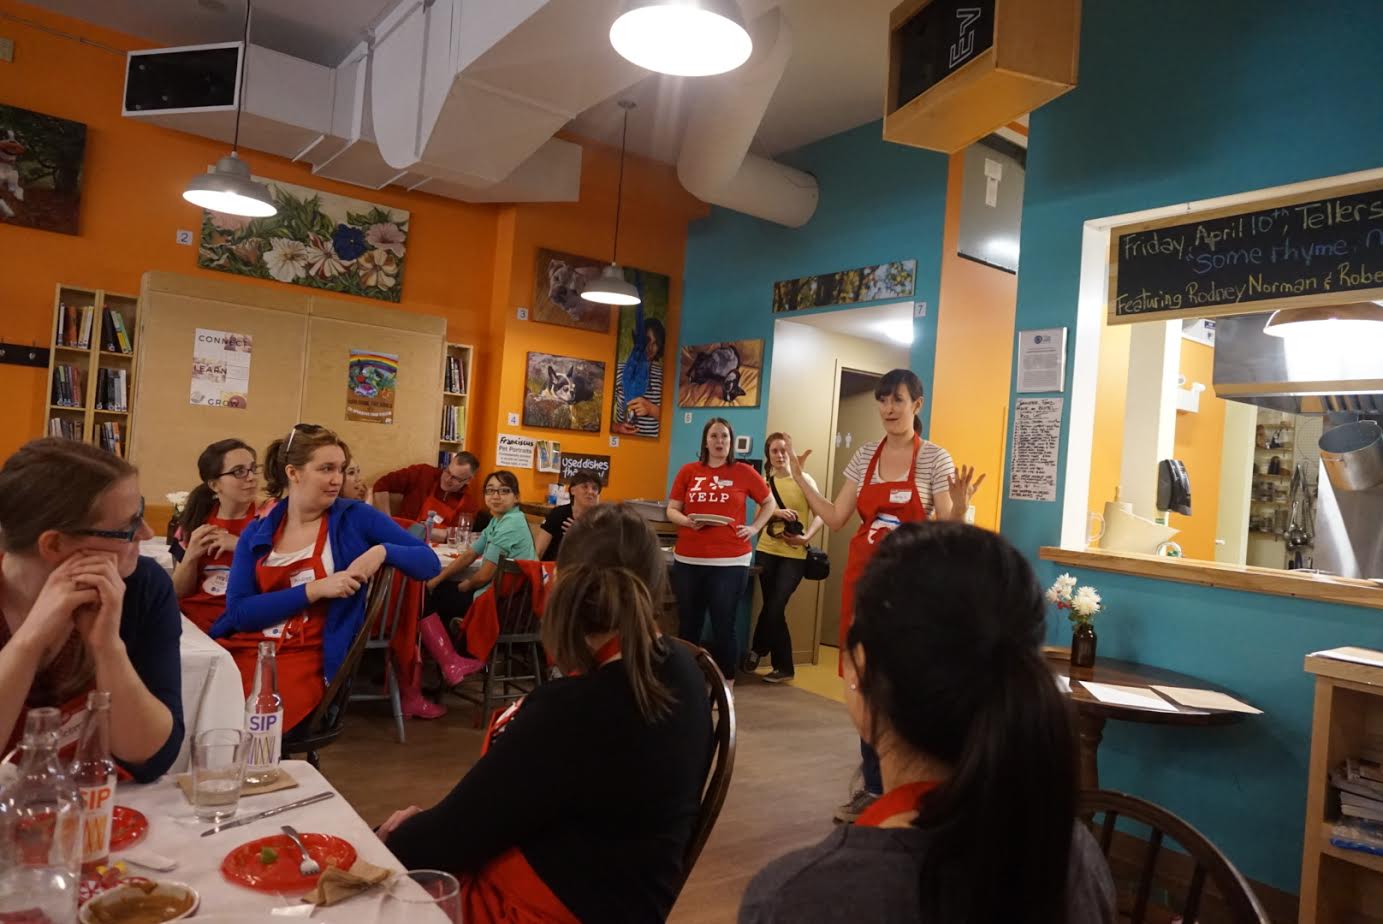
Following our chat Dr. K asked me to host a 30 minute virtual class for his community. I taught the participants how to make a simple vermicelli noodle bowl with homemade peanut sauce. It's a cold dish and is great for showcasing fresh produce and herbs, plus it's vegan and gluten free! His community loved it so much that I shared the recipe on my Instagram in the summer of 2021, now I’m happy to finally be sharing it here on my blog (better late than never, right?). If you try it out, please let me know by sharing your photos and tagging me on social media. Enjoy!
Vermicelli Noodle Bowls
Yields 6 servings
Ingredients:
Salad base:
1 lb of vermicelli noodles, cooked according to package directions & rinsed under cold water
1 block of extra firm tofu, chopped into small dice sized pieces
1 medium sized cucumber, chopped into bite sized pieces 1 - 2 tomatoes, diced 2 - 3 green onion, thinly sliced
3 - 4 cups of chopped greens of your choice (lettuce, spinach, mixed greens, etc are great)
1 - 2 handfuls of cilantro, roughly chopped
1 handful of mint, thinly sliced 1 - 2 limes, cut in wedges for garnish
Hot sauce of your choice (Sriracha is my favourite, but any will do)
Chopped roasted peanuts for garnish
Peanut butter sauce:
1/3 cup soy sauce or tamari
3 tablespoons smooth natural peanut butter
2 tablespoon maple syrup
1 tablespoon rice vinegar or apple cider vinegar
2 teaspoons miso paste
2 teaspoons sesame oil, optional
1 - 2 cloves garlic, grated or finely minced
Black pepper to taste
Directions:
To make the salad: combine the salad ingredients from the vermicelli noodles to the mint in a large bowl.
To make the peanut butter sauce: combine all of the sauce ingredients in a bowl or jar and mix rigorously until combined. It's a thick sauce. Store in an airtight container in the fridge for up to 10 days. Note: I usually make double of the sauce because it’s so good!
To assemble the salad: serve portions of the salad into large soup bowls and top with 2 - 3 tablespoons of the sauce per serving. Add hot sauce and squeeze over fresh lime and a sprinkling of peanuts. Mix everything together in your bowl, taste and add more sauce and toppings if needed. Enjoy immediately!
If you enjoyed this recipe, my friend Samantha Shorkey and I have opened registration to our fitness and nutrition program called “Fit & Healthy Over 40”. Because life is hectic and we know it’s hard to get (and stay) on track when it comes to fitness and food goals, we put our heads together to come up with a plan for you. During our 4 week program that starts on April, we’ll help you instil solid routines through weekly guided workouts, coaching, community, and cooking classes — all plant-based, of course. Do you need structure and accountability to actually make changes in your life? We are here to support you! To learn more visit our program page or send me an email.